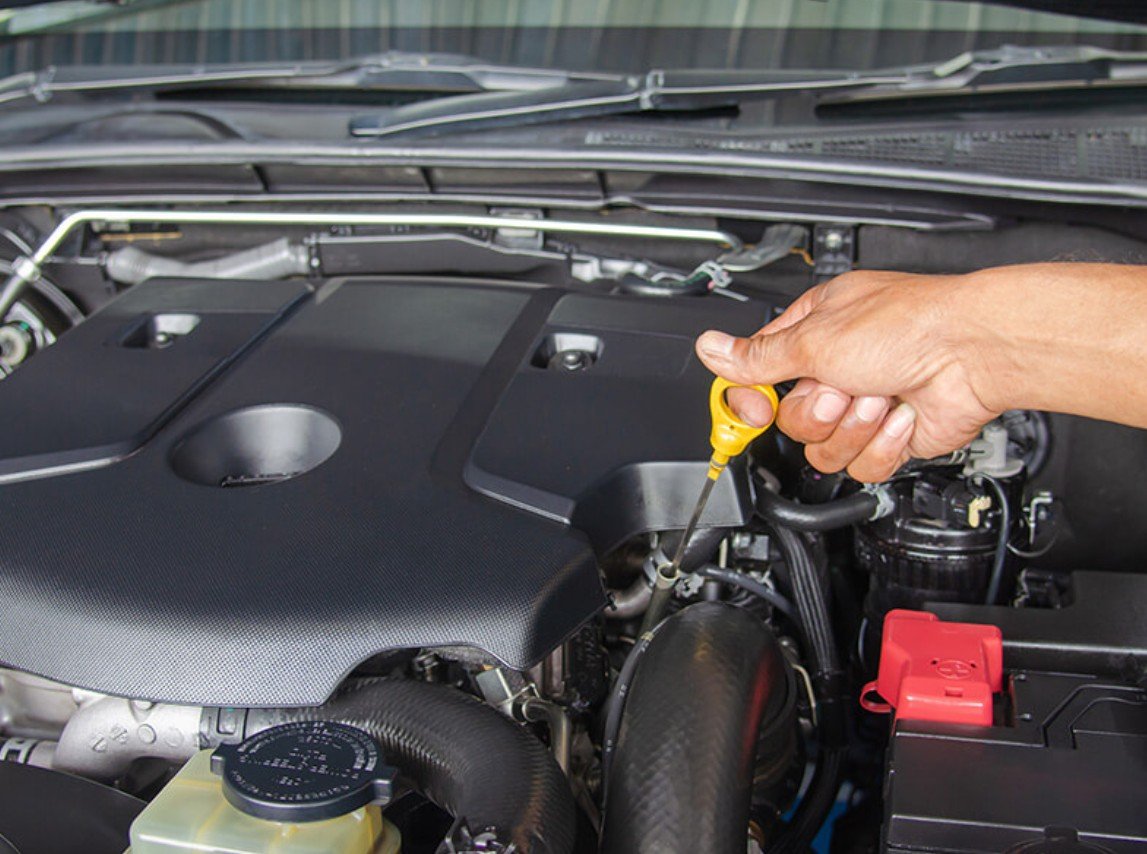
Checking your engine oil is a quick maintenance task that can help prevent serious engine problems. Motor oil lubricates internal components, reduces friction, helps manage heat, and carries contaminants toward the oil filter. When the level becomes too low, the engine may run hotter and its moving parts can wear more quickly.
Learning how to check engine oil takes only a few minutes, but the correct method can vary slightly between vehicles. Some manufacturers recommend checking a cold engine, while others advise warming it first and waiting several minutes after switching it off. Always follow the instructions in your owner’s manual when they differ from general guidance.
Why Checking Engine Oil Matters
An engine can lose oil through leaks, normal consumption, or mechanical problems. You may not notice a gradual loss during everyday driving, especially if the vehicle does not leave visible spots on the ground. Checking the level regularly allows you to catch a problem before the oil drops below the safe operating range.
A monthly check is a practical routine for most drivers. You should inspect it more often before a long trip, after an oil warning appears, or when driving an older vehicle that consumes oil. Regular checks do not replace scheduled oil changes, but they help confirm that the engine has enough lubricant between services.
How to Check Engine Oil With a Dipstick
Park the vehicle on firm, level ground. Apply the parking brake, switch off the engine, and wait for the oil to settle in the oil pan. The correct waiting period may range from a few minutes to longer, depending on the manufacturer. Never work near a hot engine if there is a risk of touching heated components.
Open the hood and locate the dipstick, which usually has a yellow, orange, or red handle. Then follow these steps:
- Pull the dipstick completely out.
- Wipe it clean with a lint-free cloth or paper towel.
- Insert it fully back into its tube.
- Remove it again and hold it level.
- Check where the oil reaches between the minimum and maximum marks.
Wiping the dipstick before taking a reading is essential. Oil can splash onto it while the engine is running, making the first reading inaccurate. If the oil line looks smeared or unclear, clean the dipstick and repeat the process.
Some newer vehicles use an electronic oil-level monitor instead of a physical dipstick. In that case, use the dashboard or infotainment menu and follow the conditions shown on the screen. The vehicle may need to be warm, level, stationary, or left switched off for a specified period before it can measure accurately.
How to Read the Oil Level and Condition
Most dipsticks have two holes, lines, or textured areas showing the safe range. These may be labeled MIN and MAX, LOW and FULL, or ADD and SAFE. The oil level should sit between the two marks. A reading near the maximum line is acceptable, but it should not rise above it.
If the level is at or below the minimum mark, the engine needs the correct oil added before further driving. A small difference between the two sides of the dipstick is common. When that happens, repeat the check and use the clearer or lower reading rather than assuming the higher mark is correct.
Oil color can also provide useful clues, although dark oil does not automatically mean it needs immediate replacement. Fresh oil is often amber, but it gradually darkens as it circulates through the engine. Follow the manufacturer’s service schedule or oil-life monitor rather than judging replacement timing by color alone.
Stop and seek professional advice if the oil looks milky, creamy, foamy, or contains visible metal particles. Milky oil may indicate coolant contamination, while metallic debris can suggest internal wear. For further maintenance guidance, review the AAA guide to checking engine oil.
How to Add Engine Oil Safely
Before adding anything, confirm the required viscosity and specification in the owner’s manual. Common grades include 0W-20, 5W-30, and 10W-40, but choosing a grade based only on what is available can be risky. Modern engines may require oil that meets a specific manufacturer or industry standard.
Locate the oil filler cap, which usually displays an oil-can symbol. Clean any dust or dirt from around the cap before removing it. Place a funnel in the opening and add a small amount of oil, rather than pouring in the entire container at once.
Wait briefly, then check the dipstick again. Continue adding small amounts until the reading approaches the maximum mark without exceeding it. This gradual method reduces the chance of overfilling, which can cause foaming, increased pressure, leaks, or engine damage.
Once the level is correct, reinstall the filler cap firmly and push the dipstick fully into its tube. Wipe away any spilled oil and make sure no cloths, tools, or containers remain in the engine compartment before closing the hood.
Common Mistakes and Warning Signs
The most common mistake is checking the oil while the car is parked on a slope. Oil collects unevenly in the pan, which can make the dipstick appear too high or too low. Other errors include reading the dipstick without cleaning it, failing to insert it fully, using the wrong oil, and adding too much at once.
Do not confuse oil level, oil life, and oil pressure. The oil-life display estimates when maintenance is due; it does not show how much oil is currently in the engine. Oil-pressure warnings relate to circulation and can indicate an urgent problem even when the dipstick shows an acceptable level.
A red oil-pressure warning requires immediate attention. Stop in a safe place, switch off the engine, and check the owner’s manual. If the oil level is normal but the warning remains, do not continue driving. Arrange roadside assistance or a professional inspection because operating an engine without proper oil pressure can cause rapid damage.
You should also investigate repeated drops in the oil level, blue exhaust smoke, a burning-oil smell, stains beneath the vehicle, or unusual ticking and knocking sounds. These symptoms may point to a leak, excessive consumption, or another mechanical issue that topping up alone will not solve.
Conclusion
Knowing how to check engine oil gives you a simple way to monitor your engine’s condition between services. Park on level ground, follow the manufacturer’s timing instructions, clean and reinsert the dipstick, and keep the level within the marked range.
Use only the specified oil and add it gradually to avoid overfilling. Regular checks, combined with timely oil and filter changes, can improve reliability and help you notice leaks or abnormal consumption before they lead to expensive repairs.
FAQs
Should I check engine oil when the engine is hot or cold?
It depends on the vehicle. Some manufacturers recommend a cold check, while others specify a warm engine followed by a waiting period. Follow the owner’s manual.
How often should I check my engine oil?
Once a month is a sensible routine. Check more frequently before long journeys or if the vehicle leaks or consumes oil.
Can I drive when the oil level is below minimum?
Driving with insufficient oil can damage the engine. Add the correct oil before continuing, or seek assistance if you cannot do so safely.
What happens if I overfill the engine oil?
Too much oil can foam, raise internal pressure, cause leaks, and interfere with lubrication. Have a significant overfill corrected before driving.